I love that this month we are spending the time getting messy. There are so many fun things to play with and get messy on a scrapbook layout. My favorite things!! Gesso, paint, mist, ink, and rub ons all are perfect messy supplies. These products are the best for me to use to really create a page that feels like my page.
For this page about my daughter being 16 (how did that happen???) I started by covering the background with gesso. This is a great way to create a stronger paper base. I then combined gesso and Speckled Egg paint from the paint dauber and brushed it down the page. I used washi tape, some sprinkled ink, rub ons and sequins to finish off the background.
Everything else is a fun embellishment. Plenty of reminders that she is sixteen.
I hope you play with paints and rub ons and really allow yourself to try some messy techniques.
~ Corrie
Friday, May 30, 2014
Wednesday, May 28, 2014
One Buck Wednesday
It's digital sale time again and here's what we've got today:
Creative Team Member Chantalle McDaniel so loved creating her first digital layout a couple months ago that she's done another for us!
She's digi scrappin' like an expert to me! Here are some tips she's sharing:
1. Create a cut file look by welding complex shapes and/or words to simple shapes:
2. Mix up how you use patterns and papers, by experimenting with layer blending modes:
3. Consider giving items some texture to give the feeling that it's printed material:
Wish Upon a Star
Digital Materials:
JBS ‘Flags & Stars’
JBS 'Sunny Skies’ papers
JBS MercantileMixCutFiles1 - Silhouettes
JBS PlayfulButtons
JBS SpeechBubbles
JBS VintageBling - Rhinestone brads & stars
JBS VintageWhimsy - Wish Upon a Star
JBS Wren Washi Tape
JBS WrenBorders - Blueprint border
Chantalle has inspired me to try each of these digi techniques. You'll be able to grab these two sale kits at the sale price through midnight PT Wednesday.
Have a creative day!

Monday, May 26, 2014
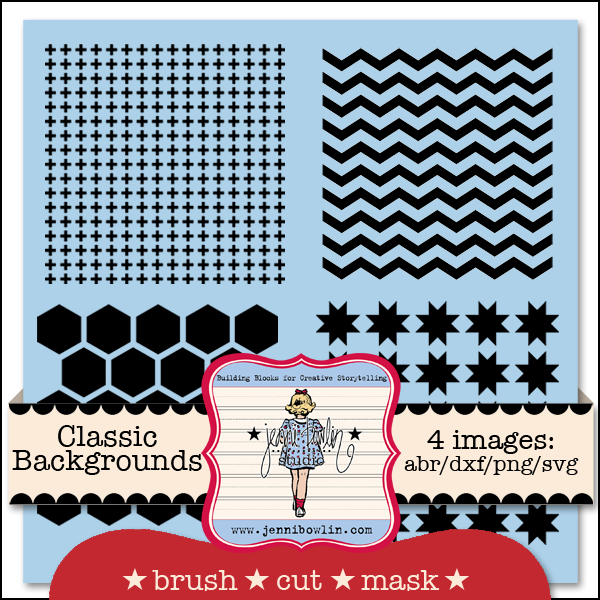
Brand New Cutting Files - Classic Backgrounds on Sale!
There is so much going on at SnapClickSupply.com!
You can find the new releases with sale prices through midnight tonight at this link.
Jenni Bowlin Studio released a GREAT new kit of cutting files:
You can use them with your Silhouette or other cutting machine and as brushes or masks for your digital scrapbooking.
Here are a couple of detailed shots of how I used these cutting files with my JBS Mercantile Monthly Kits:
And! If you spend $5, you can get Part 2 of the Designer Samples Kit FREE. This is one awesome kit! Get all the info on getting this free kit here.
I used the free kit to create a hybrid layout by printing a digital page and adding my own embellishments:
You can see how I did it ... and why I started scrapbooking this way on the SnapClickSupplyCo blog right here!
Whew! There are a lot of deals going on and so many layouts to make, so head on over and check it out!

Friday, May 23, 2014
Getting Messy: Resist Stamping
All this month on the blog, we have been sharing evidence of how much we love to get a little messy on our layouts. As for me, "messy" is an adjective that I embrace wholeheartedly, in all of its forms. At times, though, even a little disorder can stand to be balanced with a sense of order, and that is just what I did on this layout, incorporating a simple design and a few layers with a technique that illuminates order within disorder -- resist stamping.
I started by reaching for this month's exclusive stamp set, which includes four individual retro images enclosed in squares. The stamp featuring the girl playing with sand was quite fitting for a layout about an impromptu morning visit to the beach.
Using watermark ink, I repeatedly stamped the image on a rectangular piece of cardstock. Watermark ink is pretty much invisible, so while I tried my best to line up the images, I didn't worry too much about it. I filled as much of the page as I could -- about four blocks down and five across.
I then sprinkled clear embossing powder over the stamped images, shaking off the excess powder and returning it to the bottle. Using a heat tool, I applied heat. At this point, the images started to make themselves visible, taking on a raised or embossed texture.
I tilted the paper at an angle and misted the left side of it with a few sprays of yellow, and then focused a few more sprays at the top of the paper, allowing the color to drip from the top to the bottom so that the intensity of the color varied slightly. I repeated this on the right side with blue mist. With a paper towel in hand, I dabbed away lightly at the misted cardstock, and in the process, the "resist" effect emerged, revealing the stamped and embossed images.
I love the effect! It definitely makes getting a little messy worth it.

Wednesday, May 21, 2014
Great Digital Goods On Sale
We've got two great digital kits on sale today:
... and great examples from two members of our creative team:
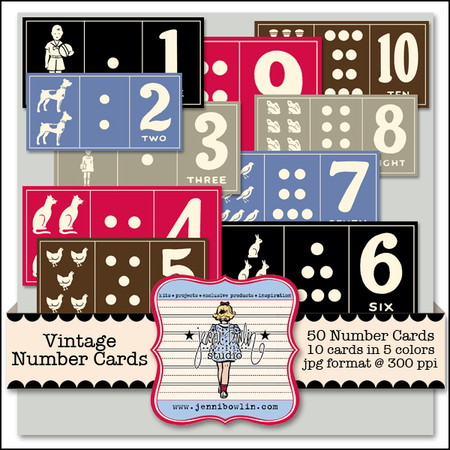
This sweet digital layout by Susie Moore used our Vintage Number Cards to frame her layered photo.
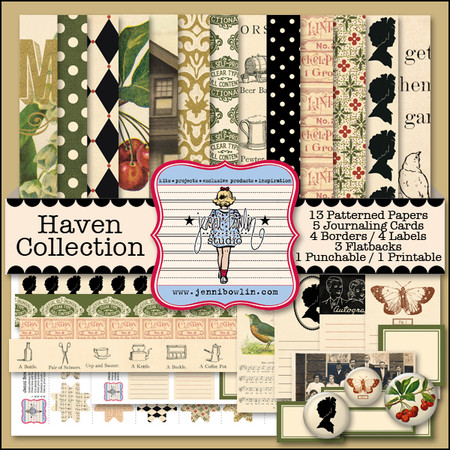
Audrey Tan used the Vintage Number Cards to tuck behind her photos and journaling and used the Haven Collection for her background papers. Two labels focus on the differences between the left and right hand photos.
More supplies include:
Supplies:
Jenni Bowlin Studio: Haven Collection, Vintage Number Cards, Block Alpha Red On Black, Block Alpha Navy On Green, Die Cut Perforated
Gennifur Bursett: This Is Why (doily)
Font: Old Typewriter, Pea Carolyn
Run over to our Digital Shoppe at SnapClickSupply.com since this sale ends tonight at midnight!

Tuesday, May 20, 2014
getting messy in the studio with ink bubbles
I had so much fun stepping into the studio space with our boys to play around a bit and make this piece. It reminded me of some of the fun things I did when I was in grade school - and also took me to a place where I was having fun and experimenting with my artwork - something that I've been working on doing in the classes I'm taking. I also added a bit of free motion stitching on top of the bubbles, but ended up covering all but just a bit of that with my layout pieces...
Here's how we made the bubbles:
Add water and concentrated ink (reinker for ink pads) or paint to a plate, and then add just a drop of dish detergent.
Using a straw, blow bubbles until you get a whole pile of them.
Once you have a whole bunch, gently lay your paper on top. It may take a few tries to get the right amount of ink bubbles on your paper.
This created a random, soft and subtle background for my layout piece. If you use paint, the effect will be must stronger...
I then added my random free motion stitching on top of my ink bubbles.
Have fun getting messy!
~ Leah

Wednesday, May 14, 2014
Beautiful Hybrid Inspiration!
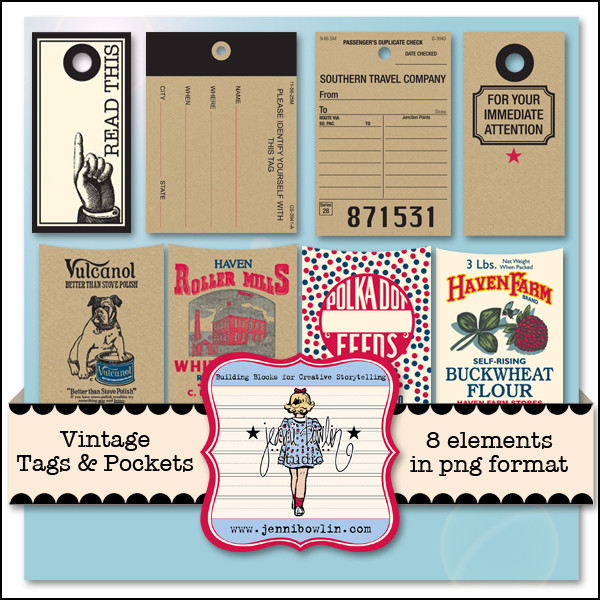
Creative Team member Chantalle McDaniel has taken our two digital kits on sale today and has creative a lovely layout with them. These kits are on sale through midnight PT Wednesday so grab yours now!
Chantalle printed one of the background sheets on a textured white cardstock for a wonderful effect.
She added die cut letters, rub-ons, sequins, and flatbacks. The Vintage Tags & Pockets are printed and cut to just the size she needed to tuck them behind her photo.
Such a beautiful layout Chantalle!
Supplies used:
Digital:
Traditional:

Labels:
Chantalle McDaniel,
gold Rub-Ons,
hybrid,
seqins
Tuesday, May 13, 2014
Sprinkle on the Mess
Sometimes, I like to get my hands messy while I work. When I am short on time I find it's a little easier to sprinkle on the mess. Sequins are such an easy way to add a carefree feel to your layout while adding a little bit of sparkle.
Sprinkling a little sparkly mess isn't hard at all. People often ask how it's best to scatter on a few sequins.The key is to not over think it. Pinch a small amount in your fingers and literally sprinkle them over the page. Remove any strays that appear out of place. Let some of them overlap one another. If there is a clump, remove it and try again with less sequins. Once everything looks right to me, I use a liquid glue such as glossy accents to glue each sequin down. It sounds a bit time consuming, but it really isn't.
Have you sprinkled on a mess recently? Share it with is in the JBS Mercantile Gallery.

Monday, May 12, 2014
My Kind of Messy :) :) :)
Heeeeeello Hello :) :) :)
What an awesome month for creative shares!!! I so so love the brief 'Get Messy'! Like I would say no LOL :)
With the layout I am sharing with you today I have used heaps of glorious product from the Mercantile! all the information is listed at the bottom of the blog post :).
To create my background I used one of the awesome Dina Wakley's masks; the 12 x 12 Boulders stencil. I have sprayed the stencil with both a white and grey mist and then stamped the mask on to the cardstock background, its as simple as that!!!!!
I have added extra splats of colour with Jenni Bowlin paints; which I applied with a small soft bristle paint brush :)
Aaaaaaand so would you like to know fabulous Jenni Bowlin Studio products I used???
Click on the image to link directly to the Mercantile :) :) :)
These flatbacks are sooooo TDF!!!! :)
What is not to love about these?!!!!!! :)
Well that is it from me for the Mo! I do hope you enjoy all the messy technique fun that will be on the blog this month!!!!!
Cheers and Happy Creating!!
Louise :) xx

Labels:
Dina Wakley,
Flatbacks,
Louise Nelson,
paint,
sequins,
Stencils,
technique
Subscribe to:
Posts (Atom)
